


Quick Answer
Installing flexible water piping takes most homeowners under 30 minutes and requires no soldering or specialist tools. The five core steps are: shut off the water supply, remove the old connector, measure and select the correct flexible plumbing pipe, hand-tighten then wrench-snug the fittings, and restore water flow while checking for leaks. Using a quality braided water hose or stainless steel flexible water connector at each appliance connection dramatically reduces the risk of joint failure compared to rigid pipe sections.
Why More Plumbers and Homeowners Choose Flexible Water Piping
Rigid copper or PVC pipe has its place in main supply lines, but when it comes to connecting appliances, fixtures, and under-sink plumbing, flexible plumbing pipe consistently outperforms it in ease of installation, vibration resistance, and long-term leak prevention. A properly selected flexible water connector absorbs minor building movement, pipe vibration from pumps, and thermal expansion — all causes of joint stress that eventually crack rigid connections.
Industry data from plumbing maintenance surveys shows that over 60% of water damage insurance claims originate from supply line failures at appliance connections — exactly the points where flexible connectors are used. Upgrading to a certified, leak proof water pipe assembly at these joints is one of the highest-return preventive maintenance steps a property owner can take.
No Soldering Required
Threaded push-fit or compression end fittings let any homeowner complete the installation with basic hand tools in minutes.
Vibration & Movement Tolerance
Flexible hose absorbs pump vibration, seismic micro-movement, and thermal expansion that would crack rigid joints over time.
Fits Misaligned Connections
Even when wall supply stubs and appliance inlets are slightly off-center, a flexible water connector bridges the offset without adapters or rerouting.
Pressure-Rated for Safety
Quality braided water hose assemblies are rated for residential supply pressures up to 10 bar and beyond for high pressure water tubing in commercial applications.
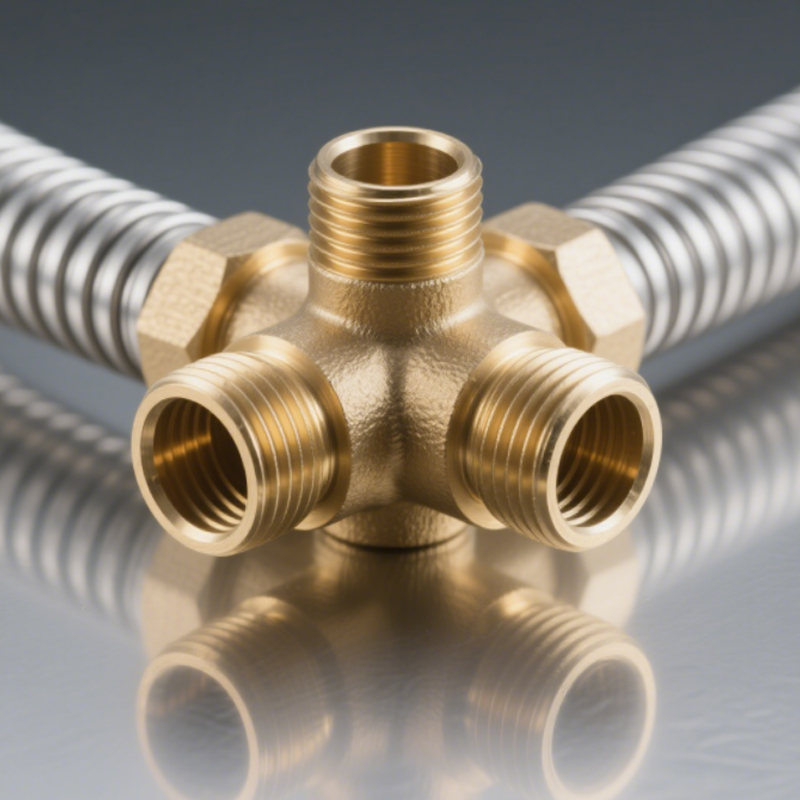
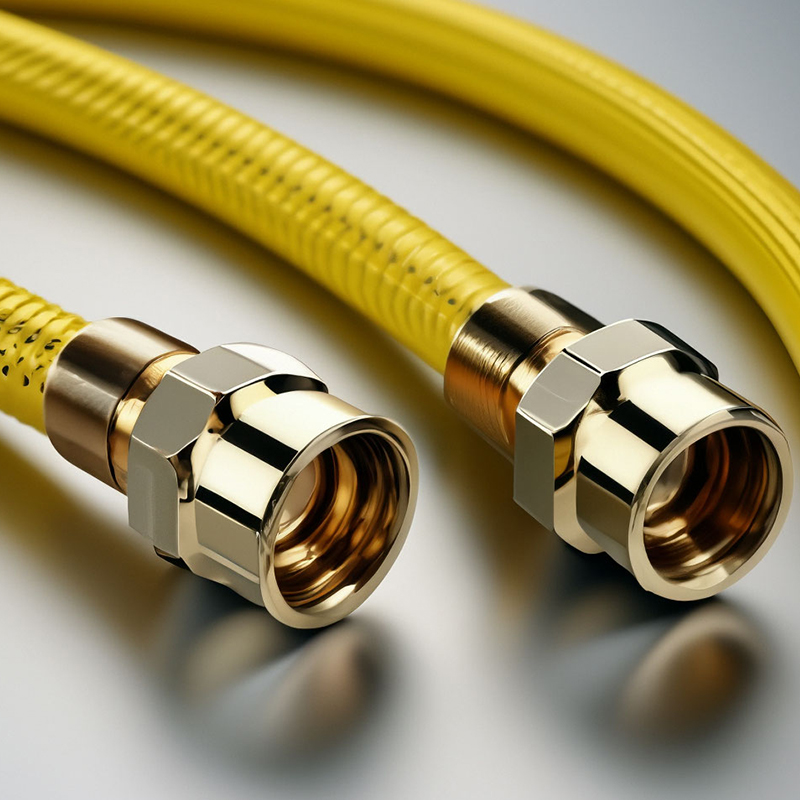
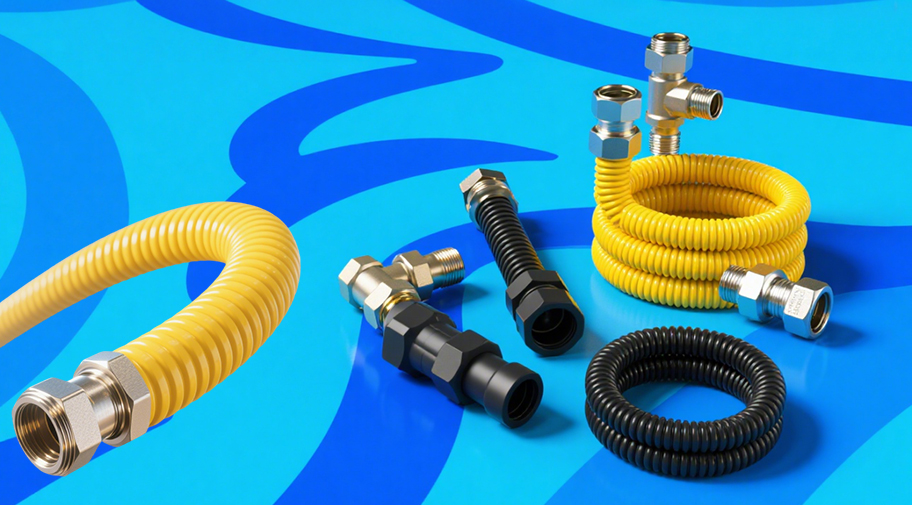
Choosing the Right Type of Flexible Water Pipe for Your Application
Before you start installation, selecting the correct hose or connector type is essential. Using the wrong product — such as a standard braided water hose on a high pressure water tubing application — leads to premature failure. The table below maps common applications to the appropriate flexible pipe category.
| Application | Recommended Type | Typical Pressure Rating | Key Feature |
|---|---|---|---|
| Toilet fill valve | Braided Water Hose | Up to 10 bar | Stainless braid outer layer |
| Under-sink faucet supply | Flexible Water Connector | Up to 10 bar | Compact, right-angle fittings |
| Washing machine inlet | Water Piping & Hose Assembly | Up to 16 bar | Double-braid reinforcement |
| Industrial pump connection | Industrial Hose Assembly | Up to 25 bar+ | Heavy-duty fittings, vibration dampening |
| Boiler / heating system | Stainless Steel Bellows Connector | Up to 16 bar, 110°C | High-temp rated, corrosion resistant |
| Tank or reservoir lining | Water Liner Assembly | Application-specific | Chemical-resistant inner layer |
As a rule of thumb: for any connection involving heat, high pressure, or continuous vibration, step up to a reinforced industrial hose assembly rather than relying on a standard residential braided hose. The small difference in specification provides a significant safety margin over years of service.
Tools and Materials You Need Before Starting
Gathering everything beforehand prevents the most common installation mistake: discovering a missing component mid-job with the water turned off. Most flexible plumbing pipe installations require only standard household tools — no pipe cutter, torch, or special fitting press is needed.
Tools Required
- Adjustable wrench or basin wrench
- Slip-joint pliers
- Tape measure
- Bucket and towel for residual water
- Flashlight or headlamp
Materials Required
- Correct length flexible water connector or braided hose
- PTFE thread seal tape (Teflon tape)
- Replacement rubber or neoprene washers (if not pre-fitted)
- Thread compound (for tapered NPT fittings)
- Leak detection spray or soapy water solution
Pro Tip: Measure Before You Buy
Measure the straight-line distance between the supply stub and the appliance inlet, then add 20–30% to allow for the natural curve of the hose. A flexible plumbing pipe that is too short will be pulled taut, stressing the fittings. One that is excessively long will kink or trap debris in low points.
Step-by-Step: How to Install Flexible Water Piping
Step 1: Shut Off the Water Supply and Drain the Line
Locate the nearest isolation valve — typically directly under the sink or behind the toilet — and turn it clockwise until fully closed. If no local valve exists, shut off the main supply at the meter. Open the downstream faucet or flush the toilet to release pressure and drain residual water from the line. Place your bucket below the connection before loosening any fitting.
Why this matters: Working on a pressurized line is the cause of most DIY water damage incidents. Never skip this step even for a "quick" swap.
Step 2: Remove the Old Connector and Inspect the Stub-Out
Use your adjustable wrench to loosen the compression nut at the supply stub-out, then unscrew the fitting at the appliance end. If the old braided water hose is corroded or the nut is seized, apply penetrating oil and wait 10 minutes before retrying — forcing a seized fitting risks cracking the valve body.
Once removed, inspect the stub-out threads for corrosion, cracks, or cross-threading. Clean threads with a wire brush if needed. A damaged stub-out must be replaced before fitting a new flexible water connector — a new hose on a damaged thread will leak regardless of how tight you turn it.
Step 3: Select and Prepare the Correct Flexible Plumbing Pipe
Match the new hose to three specifications: thread size at both ends (commonly 3/8" compression × 7/8" ballcock nut for toilets, or 3/8" × 1/2" for faucets), length as measured in Step 0 above, and pressure rating appropriate for your system. For heating or hot water supply lines, verify the temperature rating — standard EPDM-core braided hose is rated to 65°C; high pressure water tubing with stainless bellows construction handles up to 110°C.
Wrap 2–3 clockwise turns of PTFE tape around any tapered male threads before assembly. For straight (parallel) BSP or NPT threads with a flat-face seating, the rubber washer inside the nut provides the seal — PTFE tape is not required and can prevent the washer from seating correctly.
Step 4: Connect Both Ends — Hand-Tight First, Then Wrench-Snug
Start at the supply stub-out end. Thread the compression nut on by hand until snug, making sure the hose curves naturally without twisting — twisting a braided water hose stresses the inner liner and is the leading cause of premature failure. Once both ends are hand-tight, use your wrench to turn each fitting an additional half to three-quarter turn. Do not over-tighten: for standard 3/8" fittings, 1 Nm of torque beyond hand-tight is sufficient. Crushing the rubber washer by over-tightening splits it within weeks.
For stainless steel bellows flexible water connectors with union nut ends, tighten to the torque specification on the product label — typically 15–25 Nm for DN15 (1/2") connections.
Step 5: Restore Water Flow and Verify Leak-Free Operation
Slowly open the isolation valve — a quarter turn, pause 10 seconds, then fully open. Bring the line to full pressure gradually rather than all at once. Immediately inspect both fittings using leak detection spray or soapy water applied with a brush. Bubbling indicates escaping air or water. If a fitting is weeping, close the valve, dry the fitting, and add a quarter-turn more with the wrench before re-testing.
Return after 30 minutes and re-check: some fittings seat fully only after the rubber washer has compressed under sustained pressure. Mark the installation date on the hose with a marker — most manufacturers recommend replacing braided water hose assemblies every 5–10 years regardless of visible condition.
Installation complete. Your leak proof water pipe connection is now live and ready for use.
5 Installation Mistakes That Lead to Leaks — and How to Avoid Them
Even experienced DIYers make these errors. Understanding them before you start saves time, water, and repair costs.
Leading Causes of Flexible Hose Connection Failure (%)
Hose Age / No Replacement
88%
Hose Twisted on Install
71%
Wrong Pressure Rating
54%
Over-Tightened Fittings
47%
Hose Too Short / Kinked
39%
- Not replacing on schedule: The outer braid on a braided water hose looks fine long after the inner rubber liner has degraded. Replace all flexible water connectors at appliances every 5–10 years or whenever you notice discoloration, bulging, or corrosion at the fittings.
- Twisting during installation: Always keep the hose body from rotating while tightening the nut. Hold the hose body with one hand and turn only the nut with the wrench.
- Mismatching pressure ratings: A residential braided hose on a commercial booster pump system or high pressure water tubing circuit will fail. Always read the maximum working pressure specification on the product label.
- Over-tightening: Crushing a rubber washer splits it, leaving a path for slow leaks. Hand-tight plus a half-turn is the correct torque for most residential connections.
- Buying too short: A taut flexible plumbing pipe pulls on the valve body under thermal expansion. Always allow a gentle curve in the installed hose — never a straight-line tension fit.
How to Extend the Lifespan of Your Flexible Water Connectors
A correctly installed and maintained water piping and hose assembly will reliably outlast its rated service life. The following practices maximize longevity and reduce unexpected failure risk.
Annual Visual Inspection
Check for rust staining at fittings, outer braid fraying, or any bulging of the hose body — all signs of inner liner deterioration.
Regulate Supply Pressure
If your mains pressure exceeds 8 bar, install a pressure reducing valve. Sustained high pressure accelerates inner liner fatigue in all flexible plumbing pipe types.
Avoid Mechanical Contact
Keep stored items, cabinet doors, and other hardware from resting against the hose. Constant abrasion wears through the outer braid and eventually the inner water liner.
Replace Proactively
Replace all hose assemblies during any major renovation — it costs pennies relative to water damage repair. Label each hose with its installation date for easy tracking.
Estimated Failure Risk vs. Hose Age — Standard Braided Water Hose
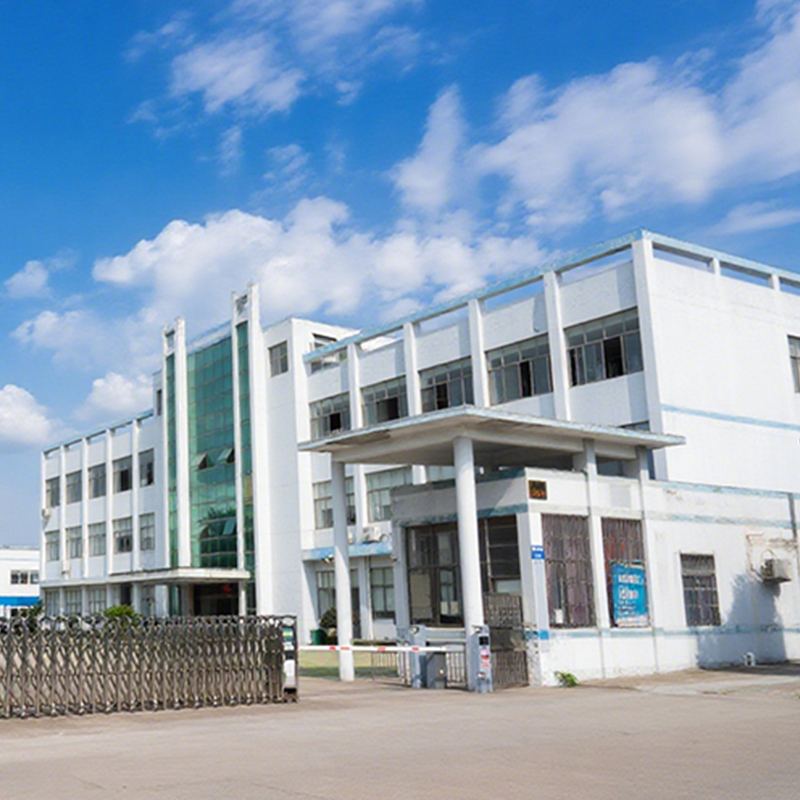
About Haoyin (Ningbo) Bellows Technology Co., Ltd.
Haoyin (Ningbo) Bellows Technology Co., Ltd. is a professional enterprise specializing in the R&D, design, manufacturing, and sales of stainless steel bellows and flexible connection solutions. With a focus on safety, efficiency, and durability, Haoyin serves gas, plumbing, heating, and industrial fluid handling applications across global markets.
As a professional OEM Flexible Plumbing Pipe manufacturer and ODM Water Piping and Hose Assemblies factory, Haoyin operates from a 35-mu campus with 18,000 m² of standardized workshops and holds multiple management system certifications including ISO 9001, ISO 14001, and ISO 45001. The company is recognized as both a National High-tech Enterprise and a Green Factory — reflecting its commitment to innovation and environmental responsibility.
Haoyin's production philosophy, "Striving for Excellence, Forging Quality," is backed by a full-process quality management system covering raw material screening, structural design, precision manufacturing, performance testing, and after-sales support. Whether you require standard braided water hose assemblies, high pressure water tubing, or custom industrial hose assemblies, Haoyin has the engineering capability and manufacturing scale to deliver consistent, certified quality.